Getting Started
This section describes the minimum steps required to make your first payment in the sandbox environment.
Creating the Test Environment
To create a test account, refer to the section on the test environment.
Once registration is complete, you will be redirected to the customer profile dashboard, where you can configure and customize the product.
Since this is your first login, the system launches a wizard that allows you to enter and configure the minimum data required for the environment to function properly.
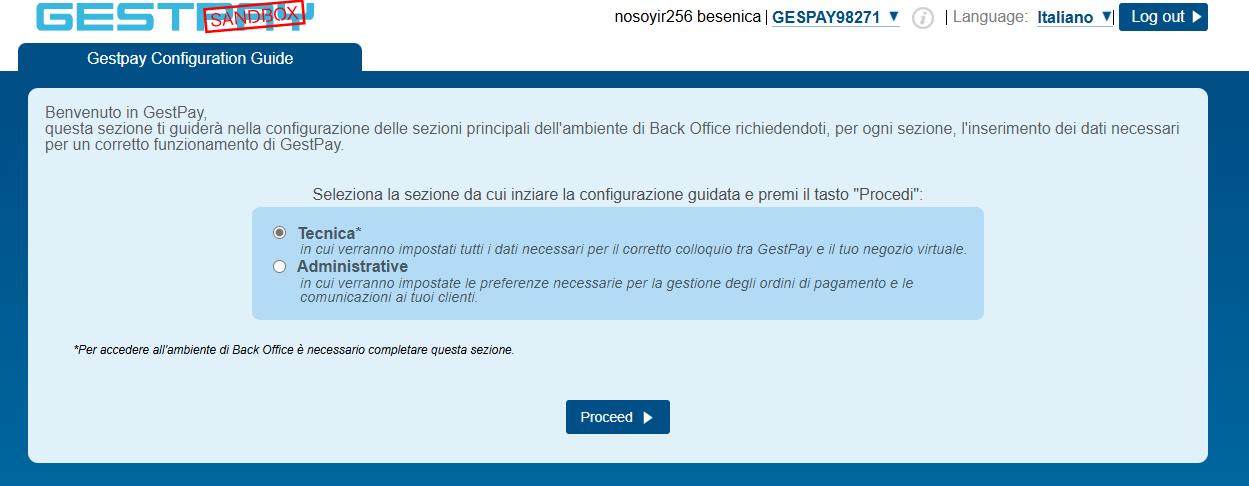
During the wizard, leave the Technical option selected and click Proceed.
Once the technical configuration is complete, you will be returned to the dashboard to continue with the administrative configuration.
Technical Section
Authentication Method
Incoming request authentication can be managed in two different ways:
- via IP
- via API Key
You can choose one mode or use both in combination for greater security.
IP Configuration
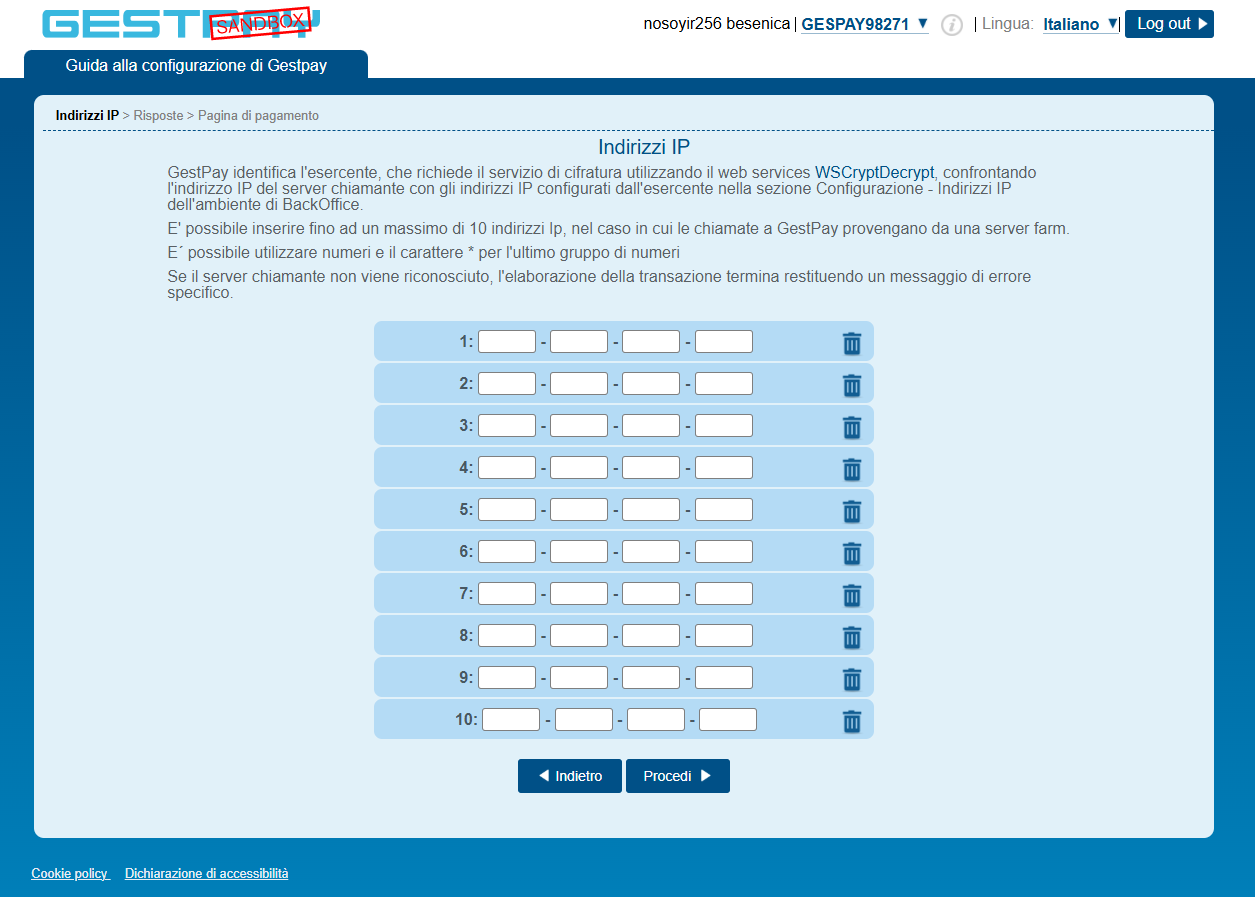
On the next page, you will be asked to enter the IP addresses in the whitelist so that Gespay will accept the requests.
If you decide to use only API Key authentication, you can configure this later. For now, you may enter a temporary IP address that you can remove afterward. We will do this for our test.
Notifications
Once the IP addresses have been entered, on the next page you must specify the references where Gespay will send the payment results:
- thank you pages
- server-to-server endpoint
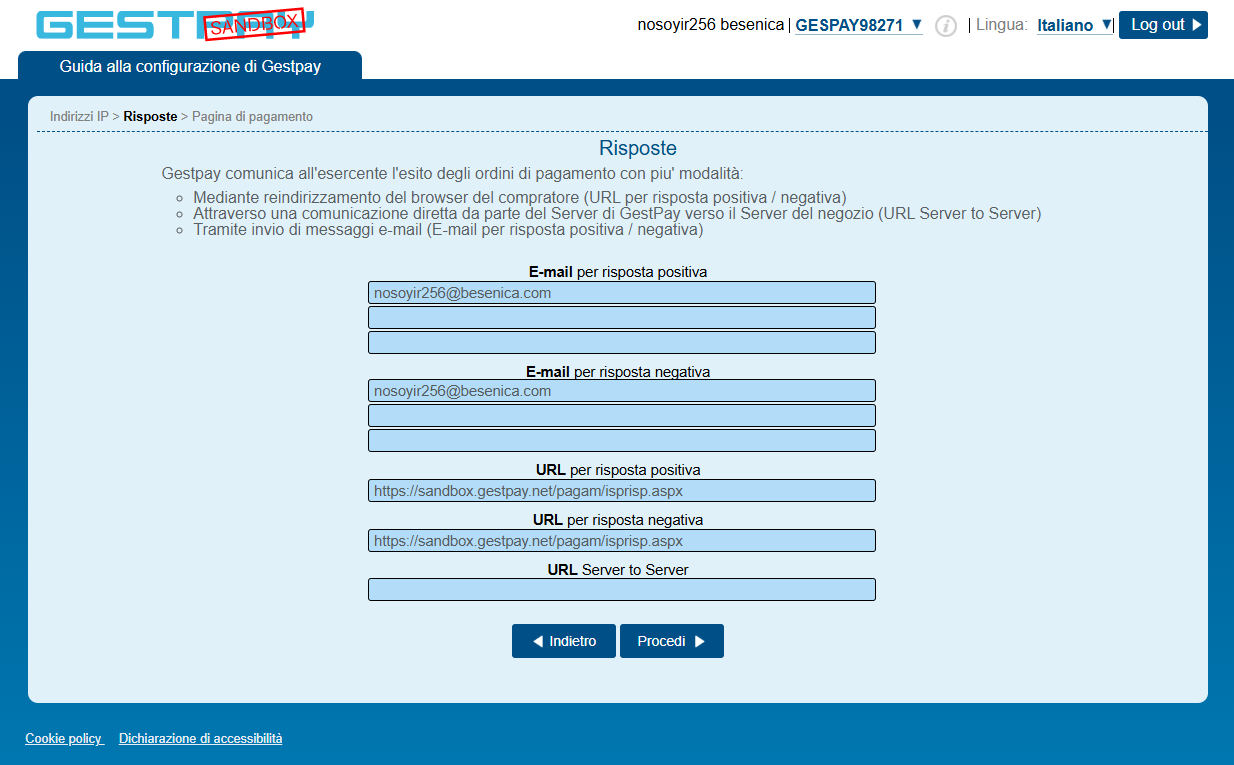
All references are set to default values; for each payment request, it will be possible to override them if necessary.
Logo
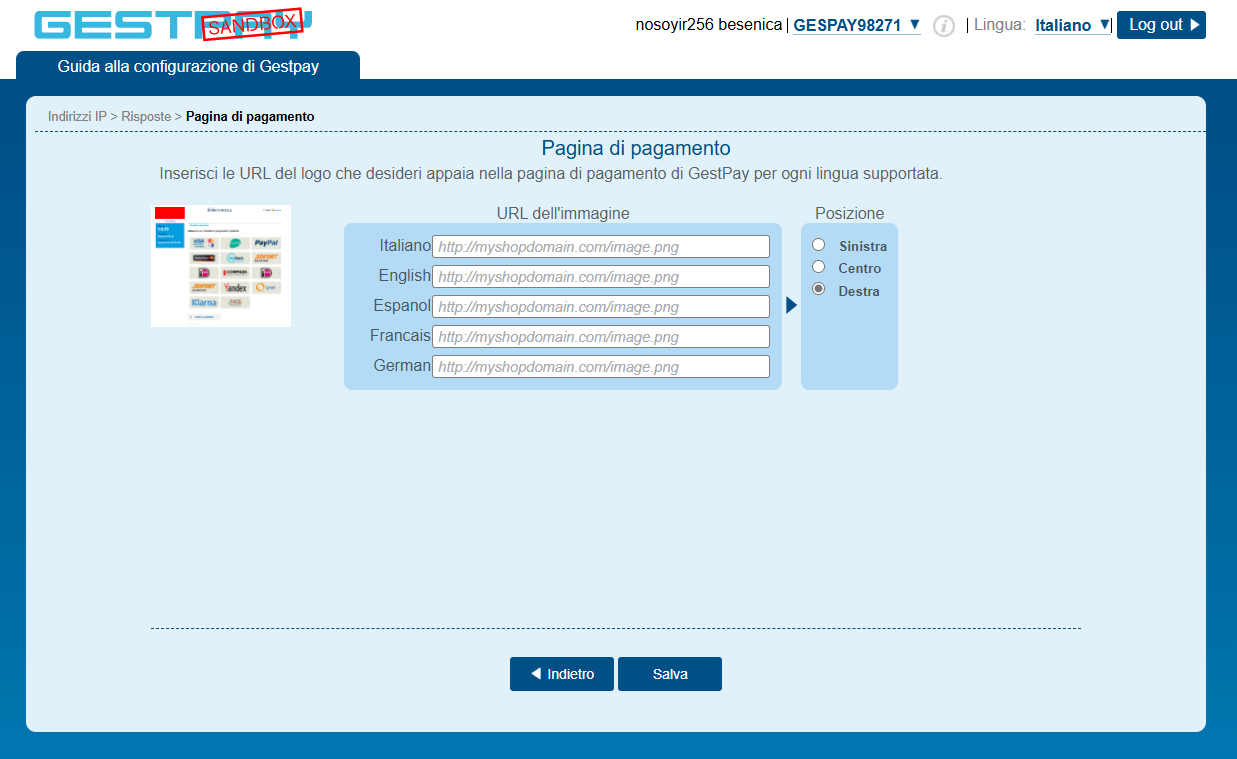
Finally, you can enter the URL of your logo (this field can be left blank):
Administrative Section
Communications
The next option allows you to enter your contact details to receive different types of communications.
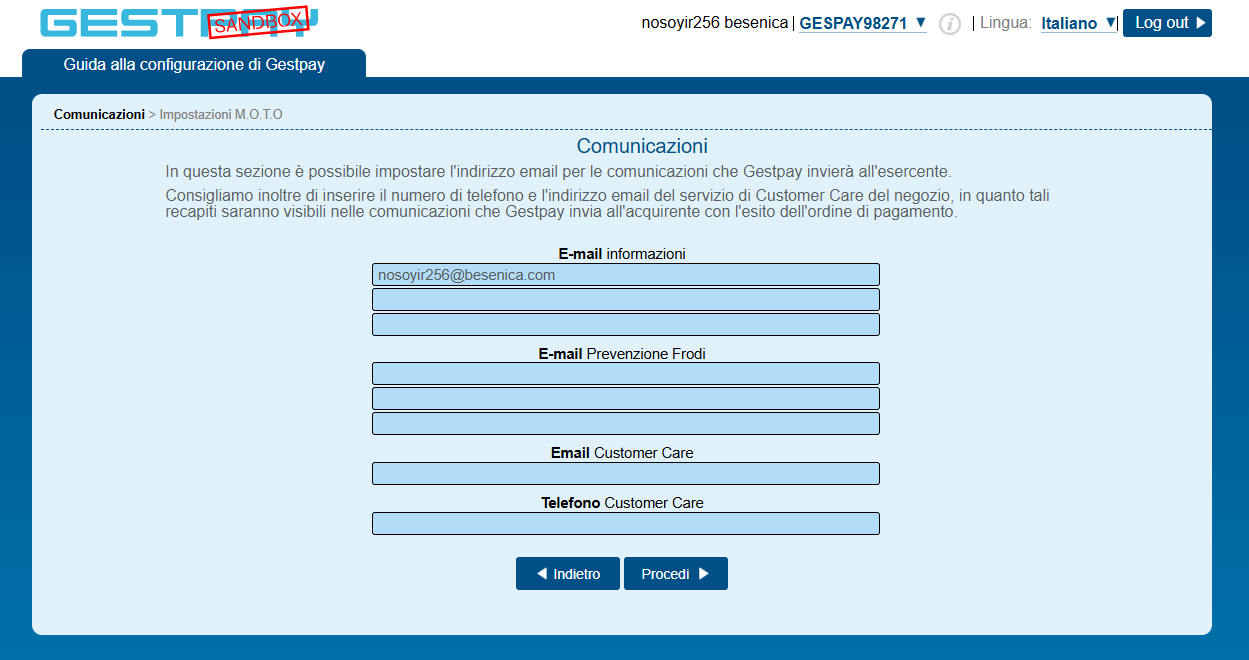
The "To" field is pre-filled with the email address provided during registration, while the other contact details are optional.
Authorization Management - M.O.T.O Processing
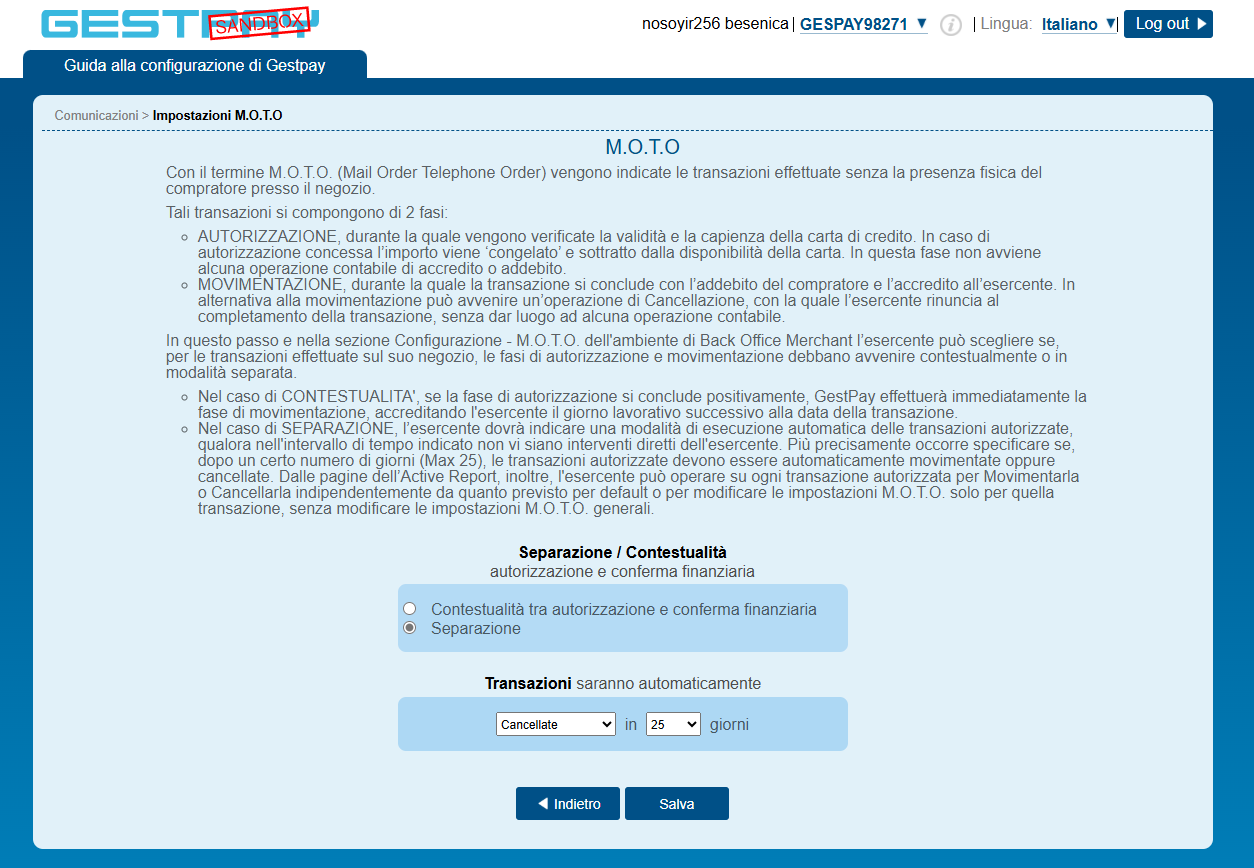
In the next section, you can decide whether to manage authorization and financial confirmation in a contextual or separate way.
For our example, we can keep "Contextuality between authorization and financial confirmation" and save.
Customer Dashboard
Retrieving the API Key
Once the setup phase is completed, you will access the customer profile, where it will be possible to modify settings and customizations.
For now, we will only retrieve the API Key.
Select the Configuration tab, then Security:
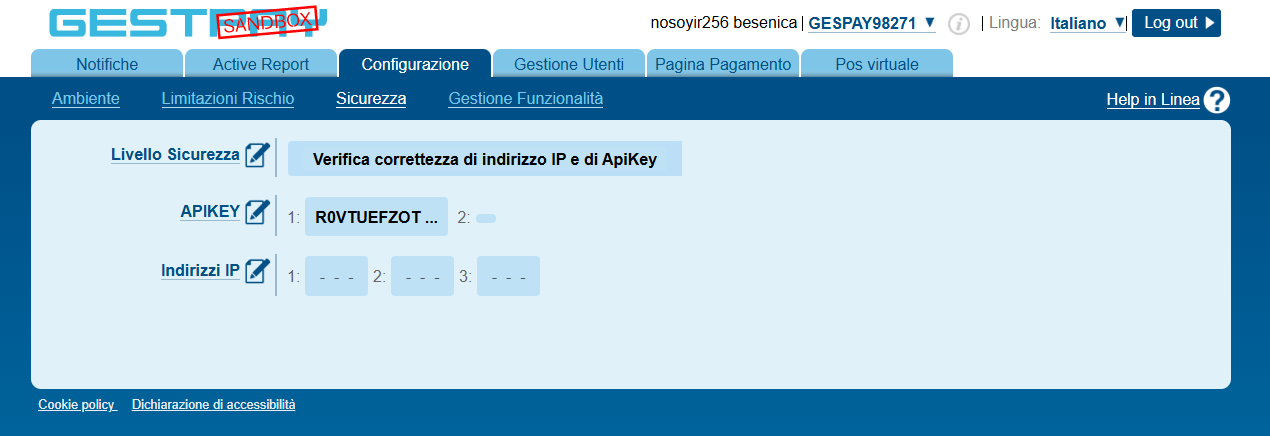
For convenience, we will choose authentication only via API Key as anticipated (of course, you may configure it differently if desired):
- Click on Security Level and select Verify API Key correctness
- Click on APIKEY, then Add Key, and copy the generated alphanumeric string
- Click on IP Addresses and remove all IP addresses
Once you have copied the shopLogin (the GESPAYxxxxx string shown at
the top right) and the API Key, you can proceed with the first payment.
Verify the Payment Page
Before proceeding with the first payment, verify that the payment page has been created.
Select the Page Payments tab, then Fields & Parameters, and click on the drop-down menu as shown in the figure:
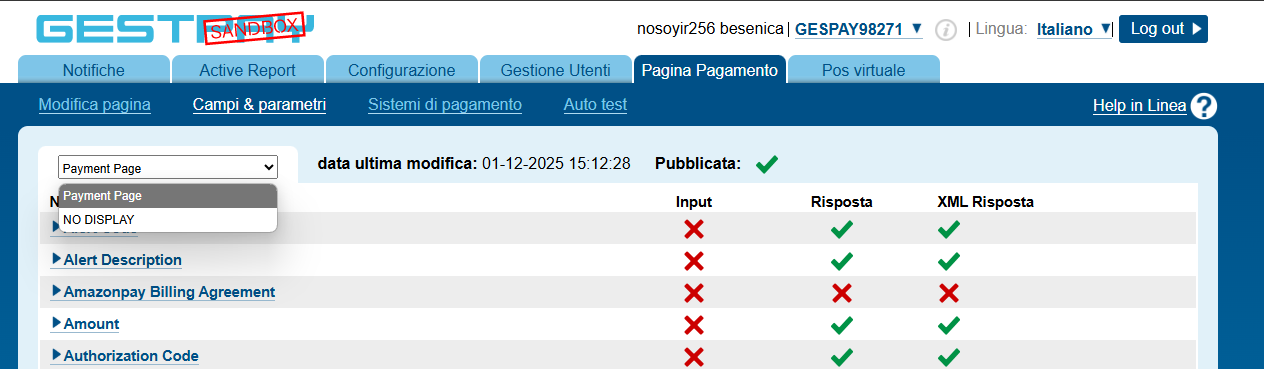
If only NO DISPLAY appears in the drop-down menu, go to the Edit Page tab and click the Save button:
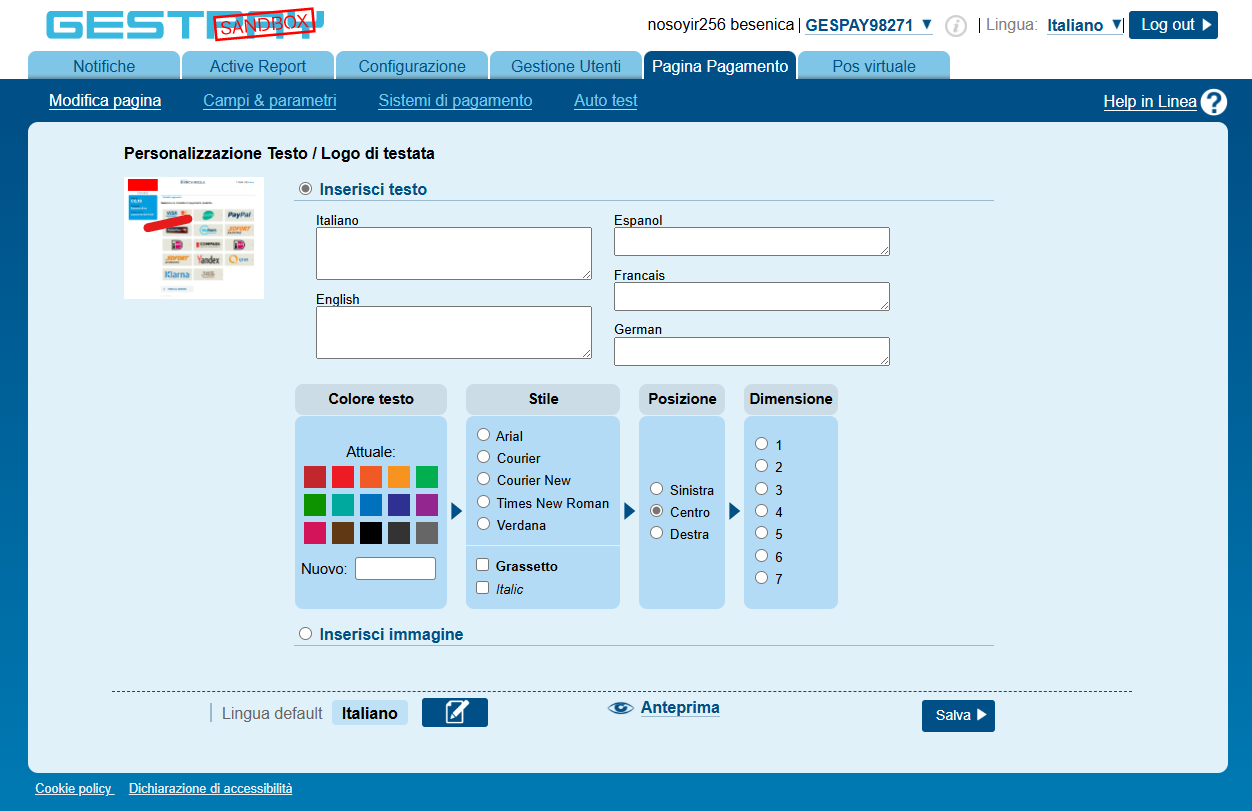
Then verify that Payment Page appears in the previous menu.
First Payment
Once the sandbox environment has been created, you can proceed with the first payment.
You can use the collection available in the documentation or your own API management tool. In this example, redirect mode is used. The various Gespay integration methods will be described later.
POST /api/v1/payment/create HTTP/1.1
Content-Type: application/json
Authorization: apikey {{apiKey}}

{
  "shopLogin": "{{shopLogin}}",
  "amount": "10.50",
  "currency": "EUR",
  "shopTransactionID": "aShopTransactionID",
  "responseURLs": {
    "buyerOK": "https://{{RedUrl}}/pagam/AxerveThankYou.aspx",
    "buyerKO": "https://{{RedUrl}}/pagam/AxerveThankYou.aspx",
    "serverNotificationURL": ""
  },
  "paymentChannel": {
    "channelType": [
      "LINK"
    ]
  }
}
In response, you will receive:
{
  "error": {
    "code": "0",
    "description": "request correctly processed"
  },
  "payload": {
    "paymentToken": "53ae4d85-fbb5-4c5c-ad90-053cc99e0d78",
    "paymentID": "1967799877102",
    "userRedirect": {
      "href": "https://sandbox.gestpay.net/..."
    },
    "qrCode": null
  }
}
Simply open the link provided in the parameter payload.userRedirect.href.
At this stage, shopLogin is enabled only for card payments, therefore no alternative payment methods will appear. These will be described in the following sections:
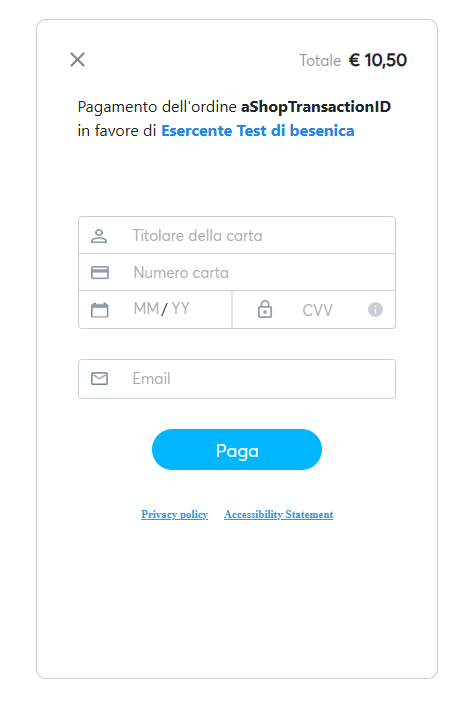
From the Test Data section, retrieve the details of a test card, for example:
- Any name and surname
- Number: 4012000000003010
- Expiration date: 05/27
- CVV: any value
If everything has been configured correctly, the payment will be successful and you will be redirected to the page specified in the buyerOK parameter in the request body.